
It's a fun week for us as Graphic 45 designers this week as Graphic 45 and Scrapbook Adhesives are teaming up for a blog hop filled with inspiration.
The blog hop starts at The Crafty Power Blog and the Graphic 45 Blog.

Both the Graphic 45 and the Scrapbook Adhesives designers are posting beautiful creations on their blogs this week. Also, if you visit each designer's blog, you will be in the running to win a generous prize package from Graphic 45 and Scrapbook Adhesives.
What is Scrapbook Adhesives?
"Our reliable and easy to use adhesives are perfect for not only scrapbooking, but also card making, mixed media, home décor and more. We offer strong permanent adhesives for archival use, 3D Foam for dimension, and repositionable adhesive for multiple uses. We cover it all! So much more than scrapbooking!
3L Consumer Products A/S has more than 40 years of experience designing adhesives for the creative industry. The Scrapbook Adhesives by 3L® brand was introduced with the focus of providing a full-line of rigorously tested and approved adhesives that are safe for all your crafts. You are our inspiration to provide the most reliable, easy-to-use adhesives to suit any papercrafting need. Our guarantee leaves you free to focus on your craft!"

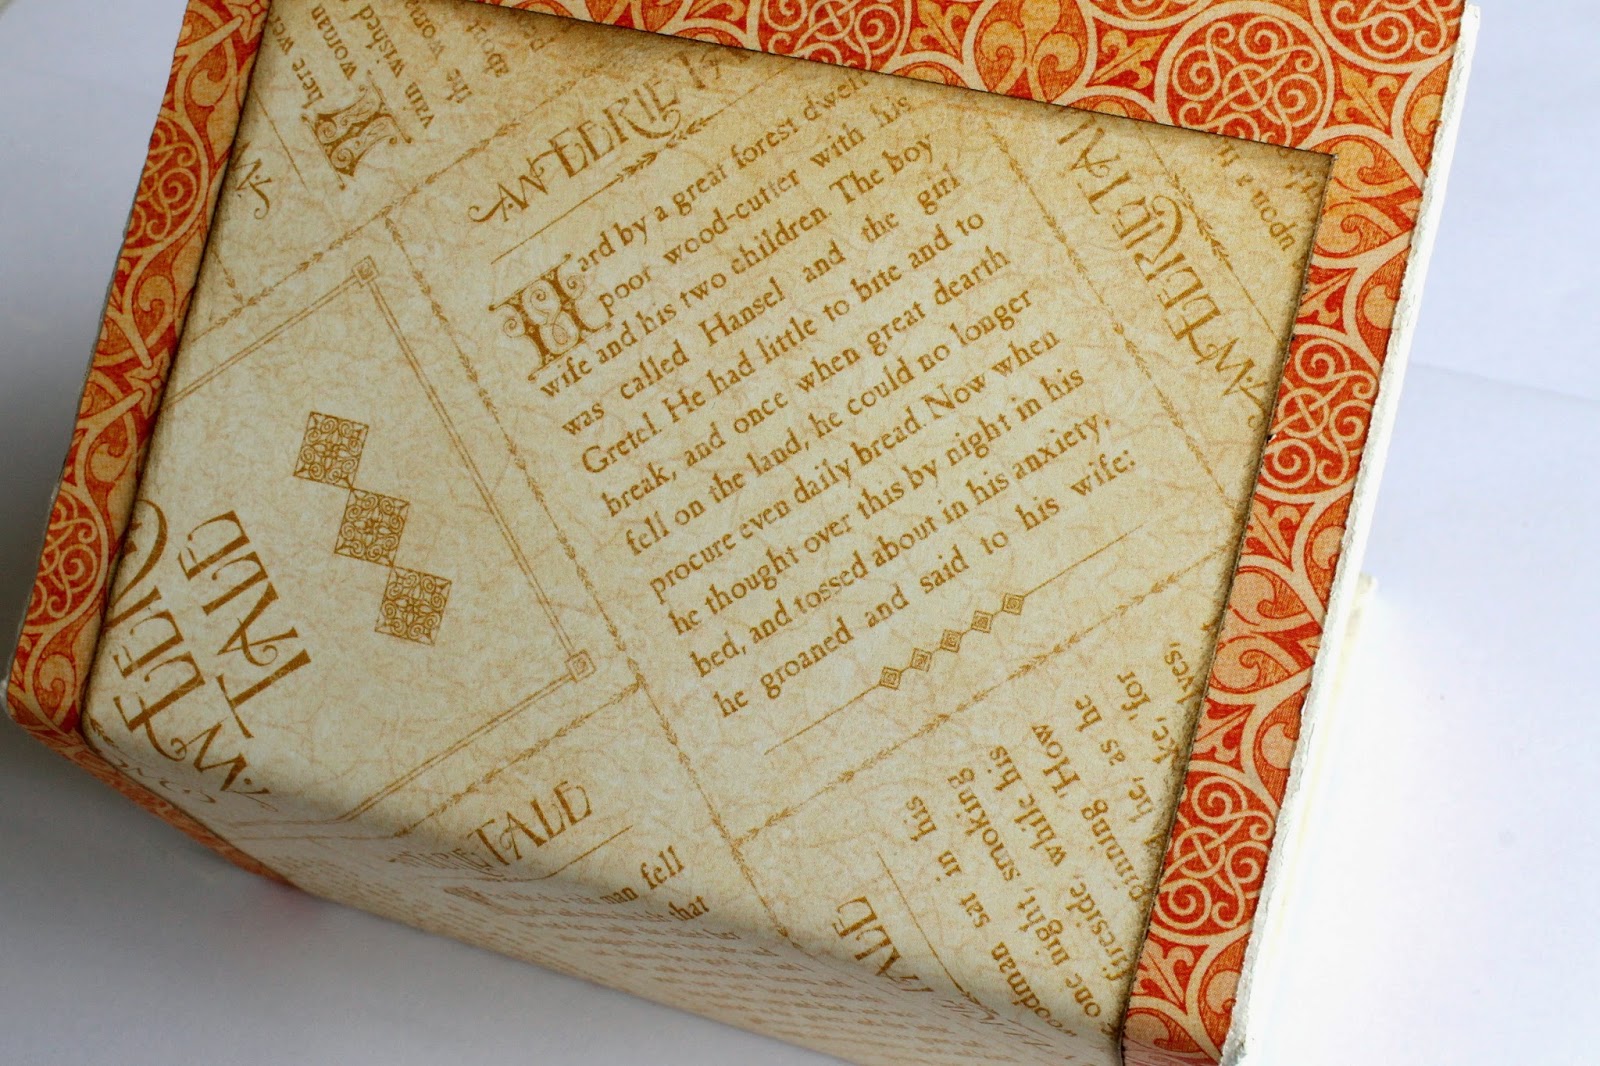
My project for this blog hop is a gift box that I made with the gorgeous "An Eerie Tale" collection. I used the Staples Book Box for my basis and decorated it with the papers, chipboard pieces and banners from this wonderful collection. I used Scrapbook Adhesives tape and adhesives to stick everything together.

Graphic 45 Supply List:
Patterned paper ‘Eerie Tale’:
You Bewitch Me
Grand Illusion
Fanciful Fable
Wicked Whimsey
Enchantment
Staples ATC Book Box
Eerie Tale Banners
Eerie Tale Tags & Pockets
Eerie Tale Journaling Chipboard

I also used tape, foam dots and glue dots from Scrapbook Adhesives. I really love their adhesives as they are strong, easy to use and high quality.

Step-by-step tutorial
I also did a step by step tutorial on how to make this gift box.
Step 1:
First paint the gift box with gesso to give it a whitewashed look.

Step 2:
Trim the “Grand Illusion“ paper at 4.5” x 11” and decorate the box with it by attaching it to the bottom, the backside and the upside of the book box. Cut a strip of the backside of this paper to decorate the sides of the book box.

Step 3:
Trim the “You Bewitch Me” paper at approximately 3.5” x 9” and attach it on top of the orange paper.
Step 4:
Cut out a small rectangle from the “Wicked Whimsey” paper and adhere it onto the upside of the book box. Then cut out two roses from the “Captivating Characters” paper and a tag from the “Fanciful Fable” paper and decorate the upside of the book box with the cut out elements. Attach these elements with foamtape for a dimensional look.

Step 5:
Further decorate the upside and the sides of the book box with more fussy cut elements, a die-cut, a chipboard embellishment and two resin cherubs.

I hope you enjoyed my project.
Don't forget to also visit the blogs of the other designers for today.
They have some wonderful, inspiring projects up on their blog.
Nichola Battilana – Canada
Rhea Freitag – USA
Romy Veul – Netherlands
Thank you so much for stopping by!
Beautiful tutorial. I love boxes.
BeantwoordenVerwijderenThank you for the step by step instructions. Beautiful.
BeantwoordenVerwijderenI love it! Its so creative!
BeantwoordenVerwijderenBeautiful gift box. Thank you for the inspiration and the tutorial.
BeantwoordenVerwijderenVery beautiful box. You always come up with such great projects.
BeantwoordenVerwijderenbeautiful, I love that eerie tale collection. very neat.
BeantwoordenVerwijderenlovely! thanks for sharing the tutorial!
BeantwoordenVerwijderenGorgeous! Thanks for sharing!
BeantwoordenVerwijderenAbsolutely gorgeous!
BeantwoordenVerwijderenRomy, this box is delightful! Just love it.
BeantwoordenVerwijderenThe box is beautiful. I love the bright colors and all of the different layers. The papers and the cuts made for so much interest.
BeantwoordenVerwijderenthe angels are wonderful.
I just love this colour. Love your wonderful, Beautiful box:)
BeantwoordenVerwijderenHello!
BeantwoordenVerwijderenSo beautiful - I LOVE this collection! Wishing you a happy one!
Hugs,
Barbara Diane
This is gorgeous Romy! Simply fabulous!
BeantwoordenVerwijderenLove the step by step tutorial. It helps a lot when trying to replicate.
BeantwoordenVerwijderen*Sigh* This is absolutely delicious!! LOVE everything about it!! Must give this a try! TFS!
BeantwoordenVerwijderenSuch a super pretty gift box!! Just stunning!
BeantwoordenVerwijderenGorgeous project!!!
BeantwoordenVerwijderenWOW! I just love this & the colors are great! You are very talented.
BeantwoordenVerwijderenSuch pretty fall colors. very nice
BeantwoordenVerwijderenVery beautiful color in this box! And angels forever!
BeantwoordenVerwijderenThis is a color combination that I would not think of using, yet your project is stunning!
BeantwoordenVerwijderenSuch a cute box!
BeantwoordenVerwijderenHi Romy a wonderful box that you have created x
BeantwoordenVerwijderenSuch a lovely
BeantwoordenVerwijderenbox you have
created! Very
pretty.
Carla from Utah
Aahh! pretty pretty as can be Romy! xoxo
BeantwoordenVerwijderenlovely project!
BeantwoordenVerwijderenBeautiful use of the papers and excellent instructions! Thanks so much for sharing your talents!
BeantwoordenVerwijderenThank you for the steps. Very useful. Its a wonderful project.
BeantwoordenVerwijderenVery pretty colors and embellishments.
BeantwoordenVerwijderenHeel erg mooi boxje! En je tutorial is goed gedaan, duidelijke foto's!
BeantwoordenVerwijderenWhat a beautiful creation. Thank you so much for sharing the tutorial. A keeper for sure.
BeantwoordenVerwijderenThe box is a great project and your instructions are so easy to follow. I also like how the adhesives make my projects go together so well.
BeantwoordenVerwijderenThis box is gorgeous, Romy! I love the Eerie Tale collection and the fact that it's just not for Halloween. The two little cherubs on top are an adorable accent.
BeantwoordenVerwijderenThis is just stunning! Love how you designed your box to look so elegant with the Eerie Tale Collection.
BeantwoordenVerwijderenThanks for the inspiration!
BeantwoordenVerwijderenSo gorgeous! LOVING the colors and the cherubs!!!!
BeantwoordenVerwijderenGorgeous and so much fun. What a great box to have filled with Halloween Treats. Great Work!
BeantwoordenVerwijderenVery pretty with lots of layering, and a great tutorial.
BeantwoordenVerwijderenA gorgeous gift box done with a gorgeous set of papers, I just love the "An Eerie Tale" collection the colours are just beautifully done. Love it.
BeantwoordenVerwijderenlove the box,
BeantwoordenVerwijderenVery striking project. Love the colours(orange!)and the paper combinations. Haven't done a box. Thanks for the inspiration!
BeantwoordenVerwijderenBeautiful! Thanks for sharing your wonderful creativity!
BeantwoordenVerwijderenThis box is AMAZING!!
BeantwoordenVerwijderenThanks for Sharing!!!
Love the box and how you decorated it!!! These are my colors!
BeantwoordenVerwijderenDelightful. Great tutorial!
BeantwoordenVerwijderenWhat a gorgeous box! Thanks for the tutorial!
BeantwoordenVerwijderenThis was a lovely project. I appreciate the step by step pictures. Sometimes its hard to know where to begin. Love the coloring.Thanks for sharing.
BeantwoordenVerwijderenGreat project, thanks for sharing!
BeantwoordenVerwijderenOn with the blog hop!
So beautiful! Great project!
BeantwoordenVerwijderenRomy, such a beautiful box. I love your colors and layout.
BeantwoordenVerwijderenIt's amazing!
BeantwoordenVerwijderenThanks for tutorial
wow wow wow you are the queen of color ... this is absolutely so beautiful , thanks for sharing with us Romy x
BeantwoordenVerwijderenlovely box :-D
BeantwoordenVerwijderenThis is beautiful and makes me wish autumn were here!!!
BeantwoordenVerwijderen<3 J
jwoolbright at gmail dot com
HerPeacefulGarden.blogspot.com
Wow! It's incredible!!
BeantwoordenVerwijderenlove the papers and embellishments on your project and the two little cherubs add such a cute touch!
BeantwoordenVerwijderenThis has got to be one of my favorites at the "hop". Love anything related to fall and Halloween, and you have done such great work!
BeantwoordenVerwijderenPrachtige geworden Romy lekker vrolijk ook.
BeantwoordenVerwijderengroetjes,lean
This is a beautiful box - I love the papers used and appreciate the instructions! Definitely one I will need to try and make
BeantwoordenVerwijderenIt's funny how sometimes your eye goes to the little things. I love the banner.
BeantwoordenVerwijderenI love the colors. Wonderful work
BeantwoordenVerwijderen